
Have you ever wanted to take all those cool recipes that were handed down to you from your grandmother and create a cookbook? Or perhaps, you live in a region where they have a particular cuisine not found elsewhere, and you want to share how to make these dishes with the world.
Cookbooks have two distinct features. First, they describe the ingredients and how to make the dish in a familiar recipe format. Just reading a recipe does not have the same impact on people as the second feature - the pictures. When we see a finished dish that looks delicious, we begin making out our shopping list and imagine that the food we see will taste as good as it looks.
Pictures trigger memories. When you look up a cookie recipe, you may see the picture and be transported back to your grandmother's kitchen and imagine the smell of a fresh batch of cookies on a cooling rack, daring you to snatch one before grandma notices. You may see a fancy crown roast and remember a special dinner you had with our spouse when you were first dating.
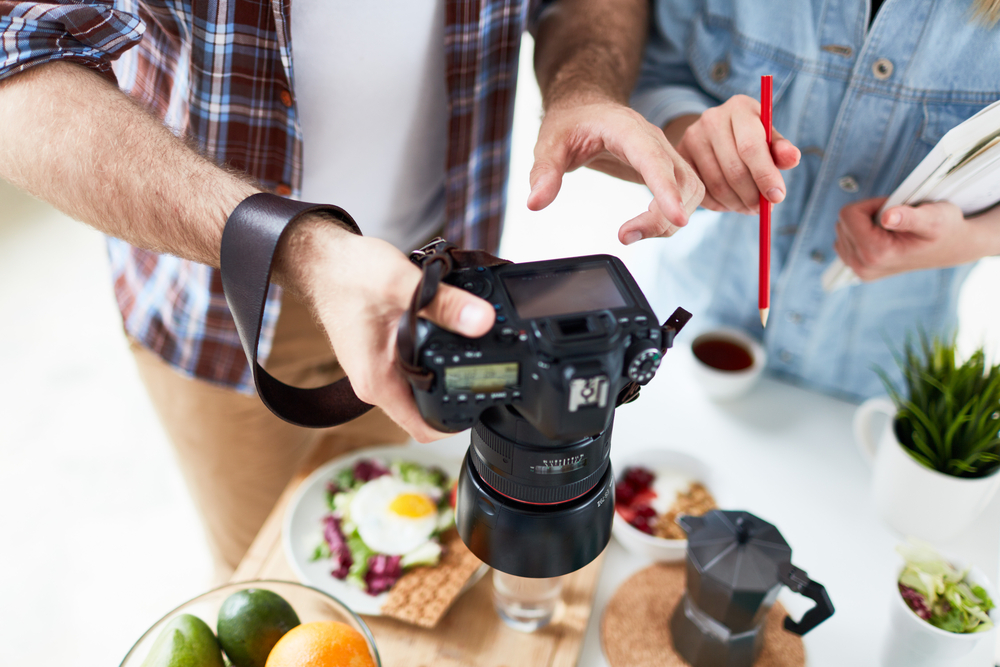
Did you know there are food stylists that can be hired to set up food for photographs? They have particular ways to style food, display it, and photograph it, so that it looks like you could eat it right off the page. These are the secrets of the trade, which I will share with you below. You don't have to have super expensive equipment or a big studio to create stunning food pictures.
Self-publishing a book or even using a hybrid publisher means that the upfront costs are on the author. They’ll need to strike a balance between costs and quality. Hiring a professional photographer to take all your food pictures can get a bit pricey. The notion that you have to buy thousands of dollars worth of expensive equipment may stop some authors from taking their own photos. The good news is the device you are reading this article on right now may be all you need to produce professional looking food photos, without breaking the bank.
The Right Camera
If you have a DSLR camera, you can create fantastic photos. However, many people who own DSLR cameras don't know how to use all their features. If you chose to use one to take photos, you can use the auto feature or experiment with taking multiple photos using different filters and lenses. Be sure to use the highest image quality and size, as this is important when resizing a photo. A lower resolution photo can tend to look pixelated when it is enlarged and will print fuzzy images. Your photographs should be at least 300 DPI when using them in a book.
You can often use your smartphone, as the cameras on newer phones have greatly improved. Experiment with different apps, not just the standard app on your phone, as other apps can allow you to change aperture settings, focus, lighting, and more.
No matter which camera you use, consider buying a small tripod for it. This helps you see the picture better, get the right angle, and prevent any vibration or movement from showing up in your photos.
Lighting
Lighting is so important to capture the best photos. Natural light is best, but not too much. Don't use flashes on your camera as this will washout your photos. Make sure your images are backlit, rather than having light coming from the front. Pictures tend to flatten out when they are front-lit. Having your photos backlit will make individual components of your photo pop.
It is suggested that you use a box light or stand lights if possible. You can find kits with multiple lights in relatively inexpensive kits. If you want to invest in anything, then invest in the lighting.
To backlight your dish, you might want to use a bounce board. These are reflective boards set on the opposite side of the food to bounce the light. You can buy an inexpensive piece of foam board from a craft store to use as a bounce board.
You can also create a light box. You will need a cardboard box lined with white poster board or foam board. You can add a light source to shine into the box. This way you control the amount and the direction of the light for consistent photos.
If you want to purchase lights, consider some LED light arrays. Many of them cost under $100 and offer versatility of placement, as well as controls for the amount of the light and the color of light. You can dial up or down the colors to make it look brighter or warmer, which can help create particular moods in photos.
Different Angles
Getting the perfect photo requires many different shots at different angles. If you are using your smartphone, you may want to take straight-on shots from above taken over the plate's top. Don't crop your pictures while taking the photo; wait until you touch up the images later and reframe them in exciting ways.
You can try a three-quarter or 45-degree shot. After these initial shots, experiment and try more cropped views or variations in lighting to see if you can produce more interesting and unique photos.
Touching Up Photos
If you are using a DSLR camera, consider taking RAW format pictures. This allows you to control the photos in an editing program like Lightroom or Photoshop. You will be able to use sliders to adjust lighting and other aspects of your photos more easily.
Take time and experiment with balance and lighting, and other functions of an editing program. You want to produce the best photo possible, and often, flaws in picture-taking can be fixed during editing. Don't go too crazy with filters and changing your photos as they can take on an unnatural look.
TIPS
- Use unusual surfaces. You can put them in a pot, or on a cutting board or other unique surfaces. This can elevate food that could otherwise look a little boring. Consider placing a fish on a bed of rock salt, or a baked good on some charred parchment paper. Be creative.
- You want the dishware to accent your food and make it the centerpiece. Use clean, white dishes and tableware and allow your food to be the star. Your dishware does not have to be super fancy or expensive. That does not mean you can't use a pretty platter you have on hand, but you don't need to go out and buy new tableware for your photos.
- For some reason, food placed on a plate in odd numbers is more appealing than food placed in even numbers that make it look symmetrical.
- Think about the backdrops. You should stage the food with interesting elements in the background. You can drape different types of fabric to give a nice texture and contrast to your food. Play with the colors and how they accent or take away from the food. You can use a light background for dark foods and light background for darker foods for a more balanced contrast. You can also use wooden backgrounds like tables and cutting boards for a more rustic look, and to show a food being prepared or plated.
- Use colorful garnishes that are in contrasting colors to your dish. You can elevate a dull plate of spaghetti by using a sprig of vibrant green parsley. Herbs and flowers are great to use as garnishes, as are fruits and vegetables cut up in creative ways. A plate should look like a miniature work of art. You can add dabs of colorful oils and sauces, spread in wild swirls to add a creative touch. No matter what you choose to use, be sure it complements, rather than takes away from, the meal.
- Use raw ingredients from your recipe to accent the dish. You can display raw carrots and celery around a bowl of soup. This adds depth to your dish and helps the reader imagine the process of making it.
- Spritz your food with oil. You can use a water bottle or paint on the oil with a brush. This helps it look appetizing and helps capture the light. An alternative that will not cost as much is hairspray - just don’t eat the food afterwards. This works well in bringing out the shine in fruits and vegetables.
- Minimize the clutter in your photo. Don't put too many objects around your dish, and the background should not be too busy or cluttered.
- Create a mood with your photos. If it is a holiday dish, use things around the dish to capture the feel and mood. For instance, you can use tinsel, evergreen branches, ribbons, pine cones, and more for Christmas photos.
- Use unusual non-food substances for effect. For instance, you can use motor oil instead of syrup. You can also cut out and place cardboard discs between the pancakes as you stack them to give them height and add space between the pancakes.
- You can use glue (plain Elmer's glue works) instead of milk or icing. Glue can also be mixed with melted cheese, and painted on food for a gooey, stretchy cheese look.
- Shaving cream can replace whipped cream.
- If you want to show off the ingredients of a soup or stew, fill the bottom of the bowl with mashed potatoes, and it will hold the ingredients near the surface. An upside down ramekin can also hold up garnishes in soups and dips.
- Replace yellow egg yolks with sliced apricots. It makes sunnyside eggs look perfect every time.
- Use toothpicks to hold food together.
- If you add a little dishsoap at the bottom of a glass and then pour in beer, it will retain its head longer.
- Liquid glucose painted onto noodle dishes make them look fresh and appetizing.
- Want to make the perfect cheeseburger? Place your slices of cheese so they overlap the patties and bun. Then use a hair dryer to make them melt perfectly.
- Use a medicine syringe like the ones that come with children's medications to squirt condiments perfectly in the places you want them to show.
- Use liquid lipstick on berries to make them look redder and more vibrant.
- If you are using a fresh apple in a photo, be sure to rinse it in luke warm water. Commercial apples are coated in a wax that can make them look dull under lights. The water will melt the wax and make the apples look freshly picked.
Here are three key rules for taking the best photos for your cookbook.
- Take multiple shots.
- Take your time, don't rush the process.
- Be creative and have fun with it.

")